


.jpg?cx=0.5&cy=0.5&cw=150&ch=120&blr=False&hash=13DE8EDEE0E1AF98CC5D704B05EC64EE)


How to Contour — According To Celebrity Makeup Artists
February 11, 2019

It seems that just about every makeup look includes a little contour — whether you’re going for a full face beat or a no makeup-makeup look. It’s an easy way to warm up your face and surefire way to get that chiseled, sunkissed glow. And even though it seems like everyone has the technique on lock, there are a few tips to keep in mind to make sure you get it right every time. To help you get the look, we’ve tapped celebrity makeup artists and contour experts Sir John and Ashley Rebecca who share their best tips, ahead:
TIP #1: MIX TEXTURES
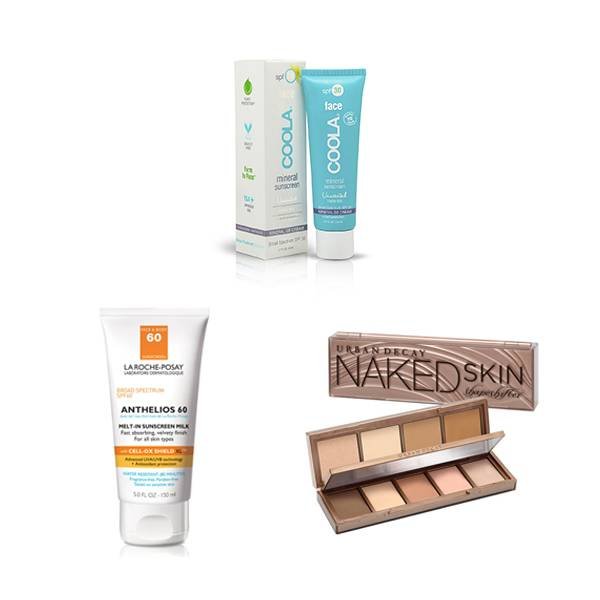
L’Oréal Paris makeup artist Sir John says two textures are always better than one. This way you avoid that oily, clogging feeling from all-cream formulas as well as the cakey, cracked effect of all-powder products. “I like to sculpt the face with deeper foundation,” he says. “This helps keep the look natural and works on everyone. Then, set with a powder. Powder will lock everything into place.” We recommend opting for a contour palette like Urban Decay Shapeshifter Palette, which has both warm and cool powders for a wide range of skin tones.
TIP #2: TRY THIS SPF HACK
Want to wake up with a natural contour? No problem, says Sir John. “When you go to the beach, apply SPF 20 all over your face and apply a thin line of SPF 70 down the nose and in the dip of the cupid's bow. Then, after being in the sun, I recommend washing your face with a Clarisonic brush to remove the sunscreen. After you cleanse, you will notice a natural effect.”And while, we’re on the topic of SPF, try this other contouring trick next time you beat your face. “Most people don’t know SPF is actually one of the best highlighters. Pat a little SPF onto the cheekbones just as you would a normal highlighter,” says Sir John. Our fave combo is La Roche-Posay Anthelios Melt-In Sun Milk and Coola Mineral Face SPF 30 Matte Tint, which won’t leave skin shiny or greasy.

We’ve all seen the overdone contouring tutorials that leave us feeling a little intimidated. Well, according to Sir John, this extreme version of shaping your face is not the future, or his style. With contouring, it’s always best to go for a wearable, day-to-day look. “Use your darker foundation color to start to contour near your earlobe and bring it down,” he explains. “Taper away as you bring the shading forward to the front of your face. As a general rule of thumb, you never want to see the lines from head on. You should only see the definition from the side and this helps create a subtle look.”
TIP #4: ONE CONTOUR DOES NOT FIT ALL
While we’re on the topic of keeping the contouring natural, let’s discuss what natural means for you. If you don’t customize your contour to fit your face, you could end up with shadows in places that need to be highlighted and highlights in placed that need shadowing. Here, New York-based makeup artist Ashley Rebecca shares her favorite contouring tips according to your face shape. For heart-shaped faces she recommends “swiping your brush along the sides of your forehead near the hairline, underneath your cheekbones and in the hollows of your cheek area.” This technique follows the popular “3” method and works for nearly everyone attempting the look.
If you have an oblong shape, however, Rebecca says “start right at the top of the forehead area and on each side of the jaw, blending toward the chin.”
For those with an oval- or round-shaped head, your technique is pretty much the same: “Add dimension underneath your cheekbones to make them appear more prominent, and apply on the sides of your forehead, underneath your cheekbones and along the jawline,” advises Rebecca. For square-shaped heads, slightly adjust your placement to complement your face shape by dusting contour “on the sides of your forehead and below the cheekbones, pointing down toward the chin.” Diamond shapes have the least work to do, and should focus on “the lower cheekbones, toward the chin area only.”Oh, and if we've said it once, we’ll say it again: The number-one rule of contouring is to blend, blend and blend some more.