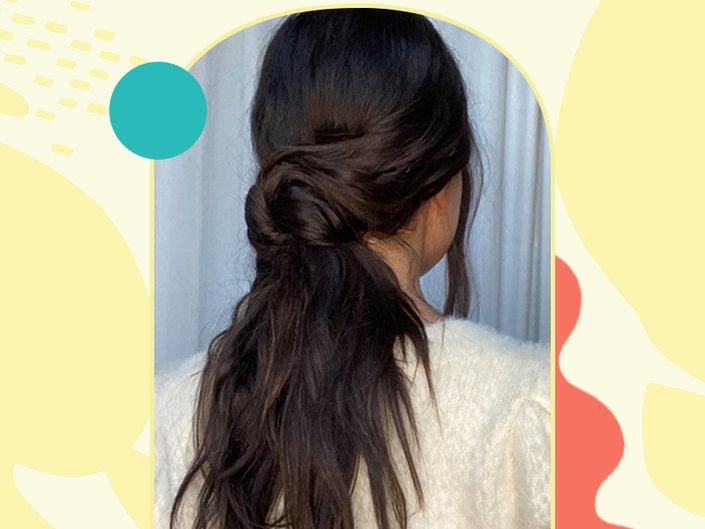
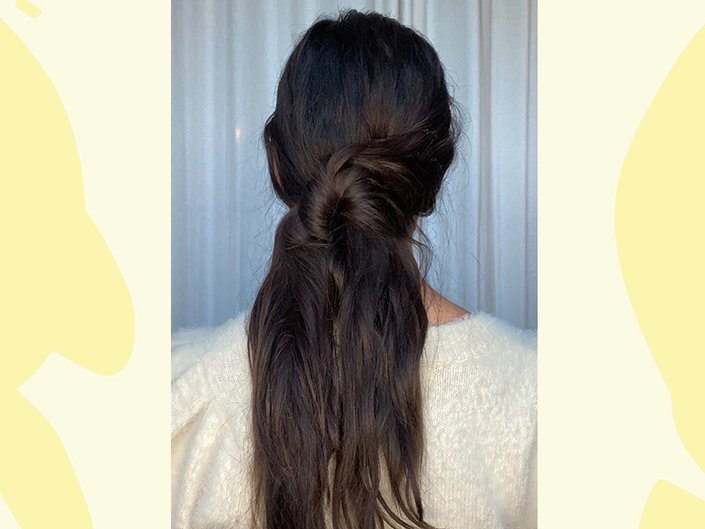
This Knotted Ponytail Tutorial Will Change Up Your WFH Look
September 28, 2020
-
STEP 1: Create Texture
One of the best things about this hairstyle is that it can be created on clean or second- or even third-day hair. If it’s been a few days since your last shampoo, Burnside recommends hitting your roots with a dry shampoo to start. Next, she suggests giving the hair texture with some flat iron waves. “Section hair and start by rotating the iron downwards and then alternating your wrist upwards,” she says. “Repeat as you work down the section to create a natural S-wave.” To lock in the waves and give your hair even more texture, mist a product like the Garnier Fructis Style De-Constructed Texture Tease Dry Touch Finishing Spray throughout hair.
![]()
-
STEP 2: Section and Knot Hair
Split hair into two sections and tie hair into a knot (literally!) at the base of the neck.
![]()
-
STEP 3: Secure the Knot
Secure the knot by applying a U-shaped hair pin in the center. “Follow up with another U-pin and criss cross them to lock them into place,” says Burnside.
![]()
-
STEP 4: Soften the Look
For a soft, romantic finish, gently pull out front pieces on either side of the head to frame the face. If you think you need more hold, Burnside recommends applying a light hairspray like the L'Oréal Paris Advanced Hairstyle Lock It Fine Control Hairspray all over to finish.
![]()


.jpg?cx=0.5&cy=0.5&cw=150&ch=120&blr=False&hash=27326E4FE66B0A2BFABAF4995DA29DC5)


