Glowy Makeup Tutorial: How to Get The Look
August 08, 2024Step 1: Prep Your Skin
Having rough or uneven skin can make your complexion look dull, which is the last thing you want when you’re hoping to achieve a fresh-faced glowy makeup look. As such, before you even reach for your makeup, you’ll want to prep your skin properly. What your skincare routine entails typically depends on your skin type, but at a minimum, we recommend cleansing and moisturizing to help ensure you’re working with a smooth, hydrated canvas. If you’re creating a glowy makeup look for daytime, you’ll also want to apply plenty of sunscreen to help shield your skin from damaging UV rays.
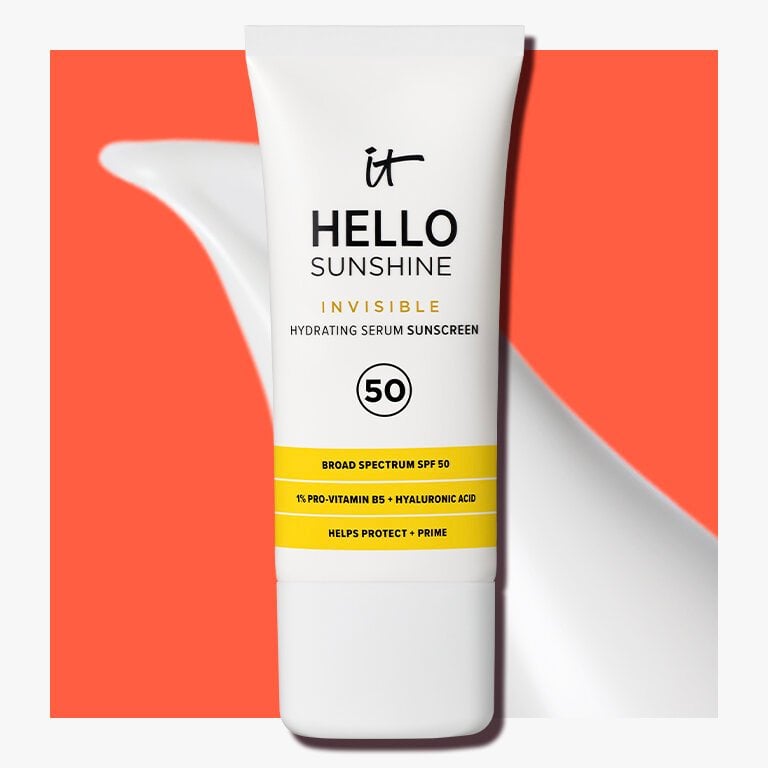
One of our favorite for everyday wear is the IT Cosmetics Hello Sunshine Invisible Sunscreen for Face SPF 50. The broad-spectrum formula is lightweight, breathable and invisible (read: no white cast left behind) and helps hydrate the skin as it protects it from UV rays. Best of all, it pulls double duty as a makeup primer, so it won’t pill under your foundation or other makeup products. Be sure to apply an adequate amount to all exposed skin and reapply sunscreen every two hours (or after swimming or sweating) when you’re out in the sun. If you need tips on reapplying without disrupting your glowy makeup, check out our article How To Reapply Sunscreen When Wearing Makeup.
Step 2: Use a Radiant-Finish Primer
Makeup primer is designed to help give your products a base to adhere to and extend the life of your makeup, but that’s not all it can do. The right formula can also help boost radiance—giving you the perfect head start on your natural glowy makeup look.
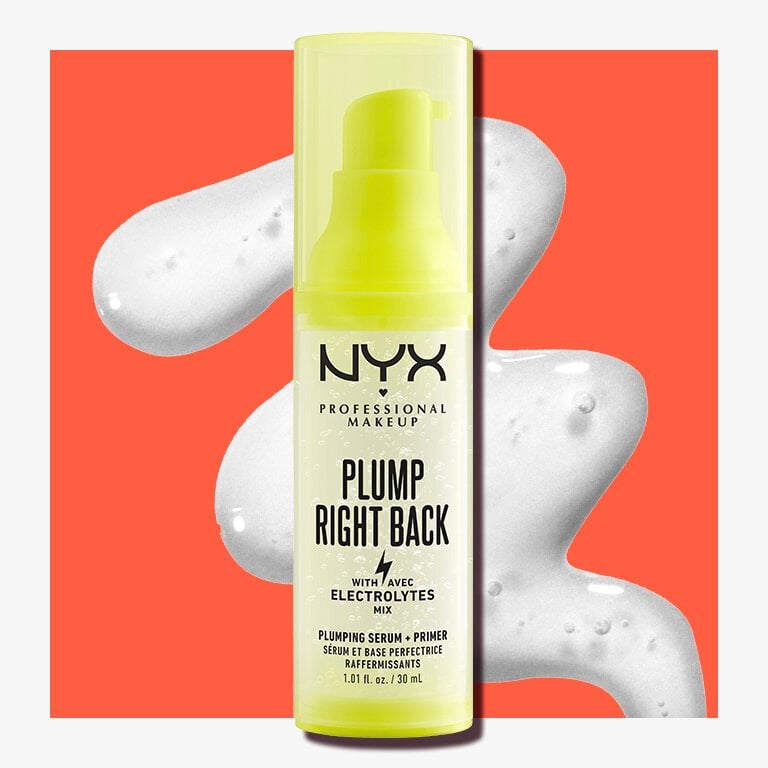
To start your makeup routine off on the right foot, we suggest reaching for the NYX Professional Makeup Plump Right Back Primer + Serum. The skincare-makeup hybrid formula contains five electrolytes and vitamins (hyaluronic acid, vitamin E, pro-vitamin B5, magnesium, and potassium) and feels moisturizing on the skin. In addition to helping prolong makeup wear, the lightweight formula helps smooth and plump the skin, creating an even canvas for your glowy makeup look. Plus, it’s suitable for all skin types and absorbs quickly, leaving behind a fresh-looking glow.
Step 3: Apply Foundation and Concealer
After allowing your primer a minute or so to set, you can move on to laying down your base makeup. However, it’s important to choose the right formula—for glowing makeup, you’ll want to steer clear of anything super full-coverage or matte. Instead, opt for lightweight, buildable formulas with a bit of radiance or luminosity. Liquids tend to be best, as they melt into the skin for a seamless-looking finish.
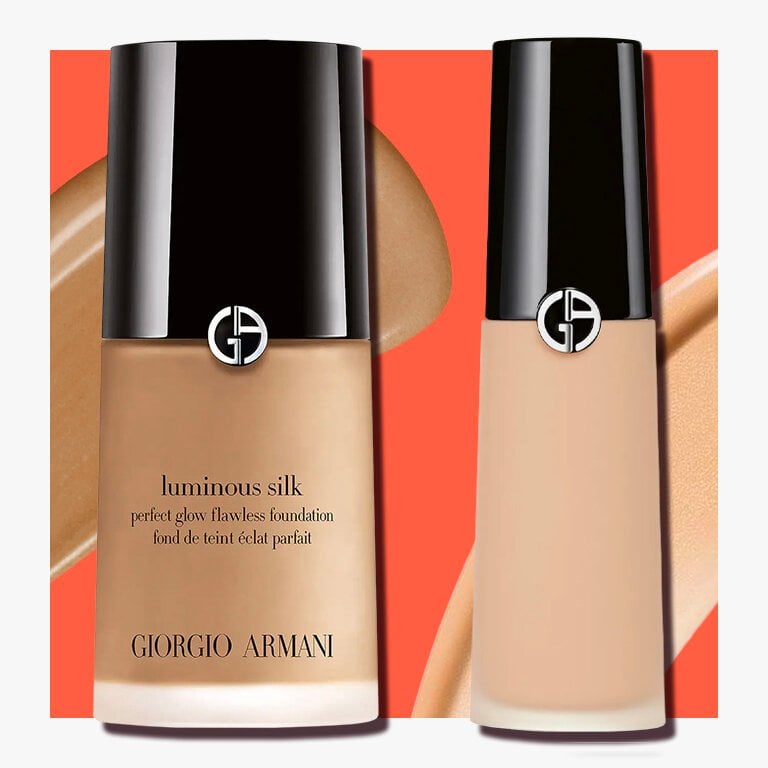
If you typically favor matte foundations and need a recommendation to get you started, we’re partial to the Giorgio Armani Beauty Luminous Silk Natural Glow Foundation. It’s buildable, blendable, and hydrating (so it ticks all of the boxes) and it has a glowy finish that’s natural-looking, not over-the-top. The formula also boasts unique Micro-fil technology that allows the foundation pigments to lay flat, so you can build and blend it to your liking without having to worry about patchiness or cakiness. We suggest using a damp makeup sponge to apply a thin, even layer, starting at the center of your face and blending outward for a natural-looking finish.
If you have any areas that could use a bit of additional coverage—think under-eye circles or dark spots—lightly dab on the Giorgio Armani Beauty Luminous Silk Hydrating & Brightening Concealer as needed. Opt for a shade that closely matches your foundation for a flawless-looking finish.
Step 4: Add Highlighter and Bronzer
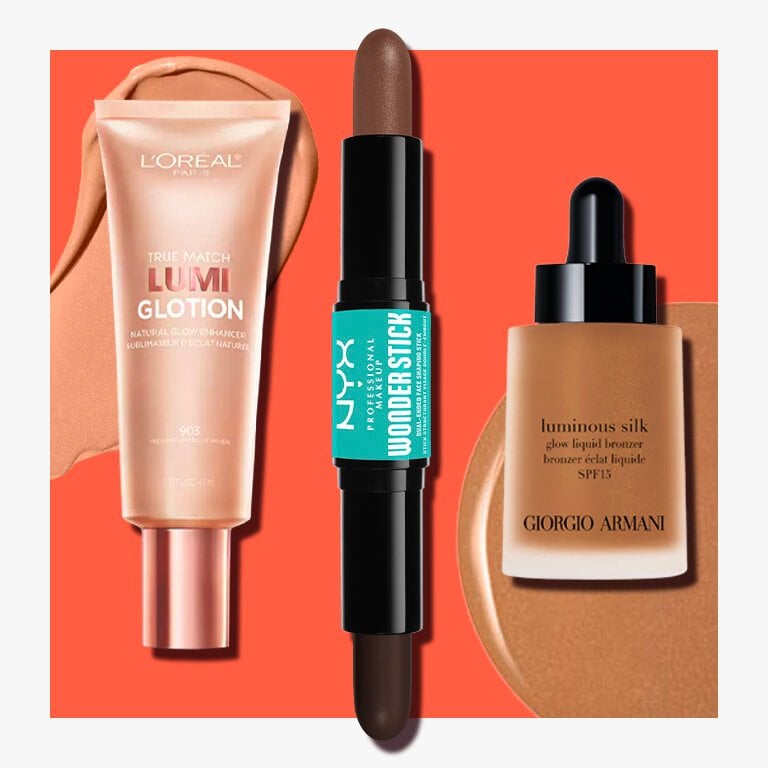
Highlighter is a key element of any glowy makeup look. But as with foundation, it’s important to select the right formula. For natural glowy makeup, it’s best to forgo the ultra-sparkly formulas in favor of something slightly more subtle. Look for a liquid highlighter with a slight shimmer, such as the L’Oréal Paris Lummi Glotion Natural Glow Enhancer. This TikTok-favorite product is the ultimate multi-tasker and can be used as a tinted moisturizer, glowy makeup primer, highlighter, or contour (depending on which shade you choose). For highlighter, we recommend selecting a shade slightly lighter than your base and dabbing it onto places the light would naturally hit your face—specifically, the tops of your cheekbones, your Cupid’s bow, the bridge of your nose, and along each brow bone.
After blending your highlighter, reach for a radiant-finish liquid contour, like the Giorgio Armani Beauty Luminous Silk Glow Liquid Bronzer, to help warm up your complexion. For a faux sun-kissed glow, we suggest applying it to your cheekbones, along your hairline, and along the bridge of your nose. Be sure to use a light hand and blend the glowy bronzer well for a natural-looking finish.
If you’d prefer a more sculpted glowy makeup look, opt for contour instead of bronzer. We love the NYX Professional Makeup Wonder Stick Highlight & Contour Stick because, as the name suggests, it contains both a cream highlighter and a contour in one convenient package. Use the contour shade to draw small lines beneath each cheekbone, along your jawline, and on either side of the bridge of your nose, then blend well for a defined yet natural-looking glow.
Step 5: Add Blush
If you really want to nail a beachy, glowy makeup look, blush is a must. But as with every step we’ve detailed here, balance is key—you don’t want to overdo it, as too much blush can detract from your natural-looking radiance. We suggest using a buildable cream or liquid blush, both because they tend to be buildable and blendable, and because they can help add to your makeup’s glowy finish (rather than dulling it down like a powder formula might).
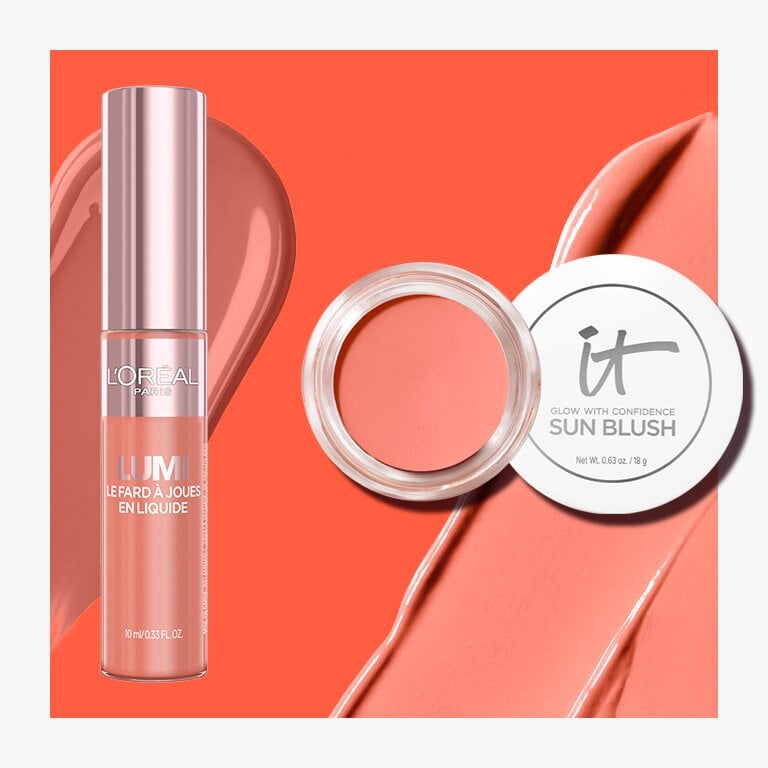
There’s an art to choosing the best blush shade for your skin, but for this look, we suggest forgoing ultra-bold shades in favor of lighter, beachier hues. The L’Oréal Paris Le Lumi Liquid Blush collection includes several such shades, including baby pinks and soft corals. Of the six buildable hues in the lineup, three are dewy and three are glowy—opt for the former if you prefer a subtler glow, and the latter if you want a really radiant look.
Whichever shade you opt for, we recommend applying it between your highlighter on contour, usually right along the ridge of your cheekbone. Use a damp makeup sponge to blend the formula toward your temples for a natural-looking flush that perfectly complements your glowing makeup.
Those who prefer a warmer, bronzier-looking flush can look to IT Cosmetics Glow with Confidence Sun Cream Blush. The buildable formula acts like a blush and a bronzer in one and leaves the skin looking glowy and sun-kissed.
Step 6: Use Glowy Eye Makeup
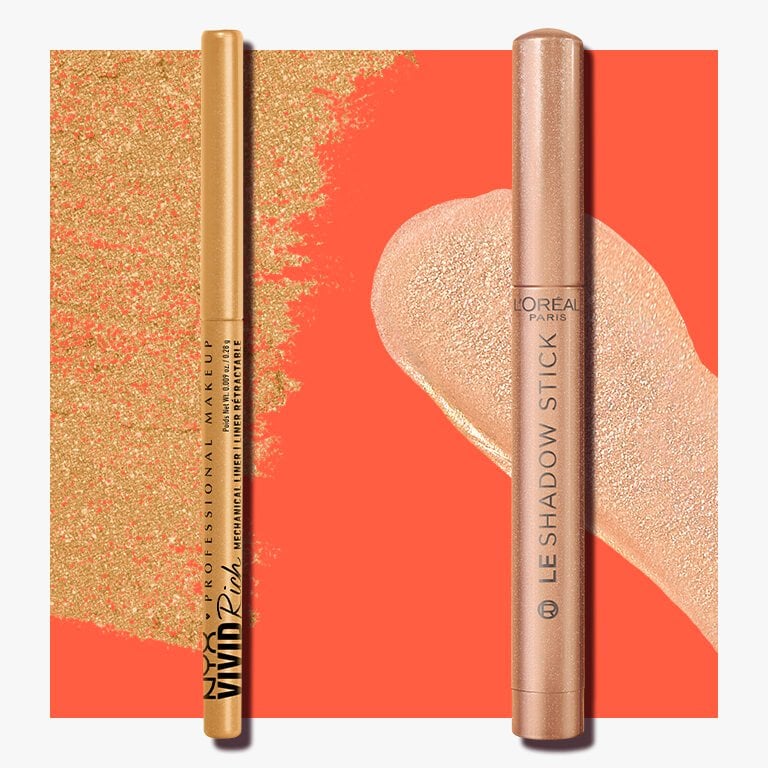
Glowy makeup is supposed to look natural, not over-done, so we recommend keeping the eye makeup on the subtler side. Instead of using an ultra-pigmented powder eyeshadow, we recommend reaching for a shimmery nude cream eyeshadow—it’ll add a bit of glowiness without looking over-the-top. Try the L’Oréal Paris Paradise Le Shadow Sticks in Twinkly Rose or Magnetic Bronze, both of which boast a shimmery—but not glittery—finish. Simply swipe your chosen shade onto your lids then blend it with your finger to soften any harsh lines that could otherwise detract from your soft, glowy look.
If you want to define your eyes further, grab a brown, taupe, or copper eyeliner. We love the NYX Profesional Makeup Vivid Rich Mechanical Pencil in Under the Moonstone (it’s shimmery!), but if you’d prefer a classic matte liner, you can’t go wrong with Smokin’ Topaz.
Finally, don’t forget mascara. A few coats of your favorite lengthening or volumizing mascara will perfectly tie your eye makeup look together. For a natural-looking finish, reach for a dark brown shade rather than your usual black.
Step 7: Apply Lip Gloss
You can give your go-to matte lipstick a rest for now—for a seamless glowy makeup look, we suggest opting for lip liner and gloss instead.
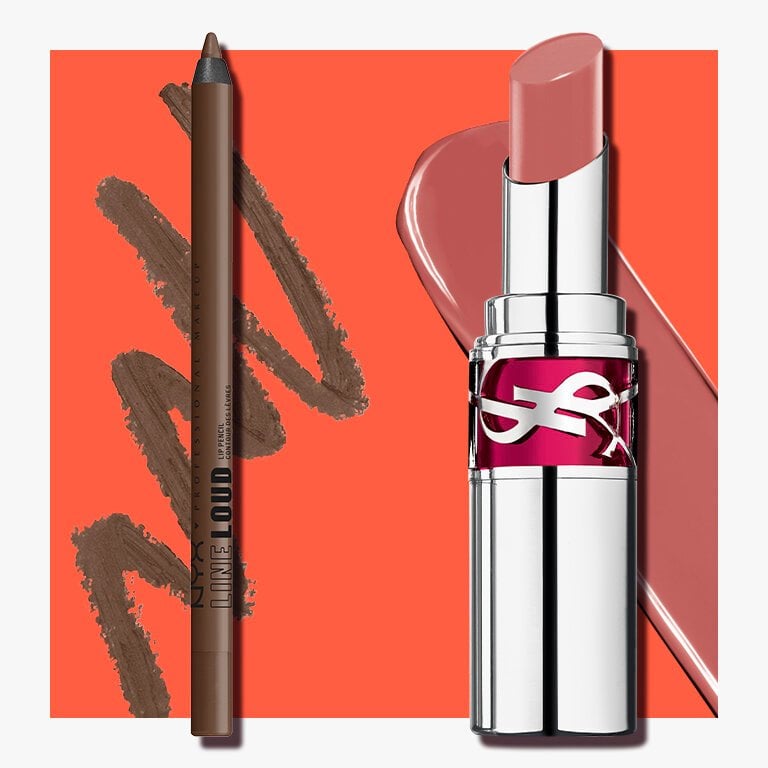
Start by tracing the outline of your lips with one of the nude or pink lip liners from the NYX Professional Makeup Line Loud Vegan Longwear Lip Liner collection. If you want to make your lips look bigger, you can also overline slightly. Just take care not to extend the liner too far past your natural lip line, which could look unnatural. Once you’re finished lining your lips, use your finger to soften the line a bit—you want your lips to appear defined, but not overly so.
Then, swipe your favorite shade of the YSL Beauty Candy Glaze Lip Gloss Stick onto your top and lower lips for a juicy-looking pout that feels soft, plump, and hydrated. (Bonus: the lip gloss-balm hybrid helps moisturize your lips over time).
Step 8: Set Your Look
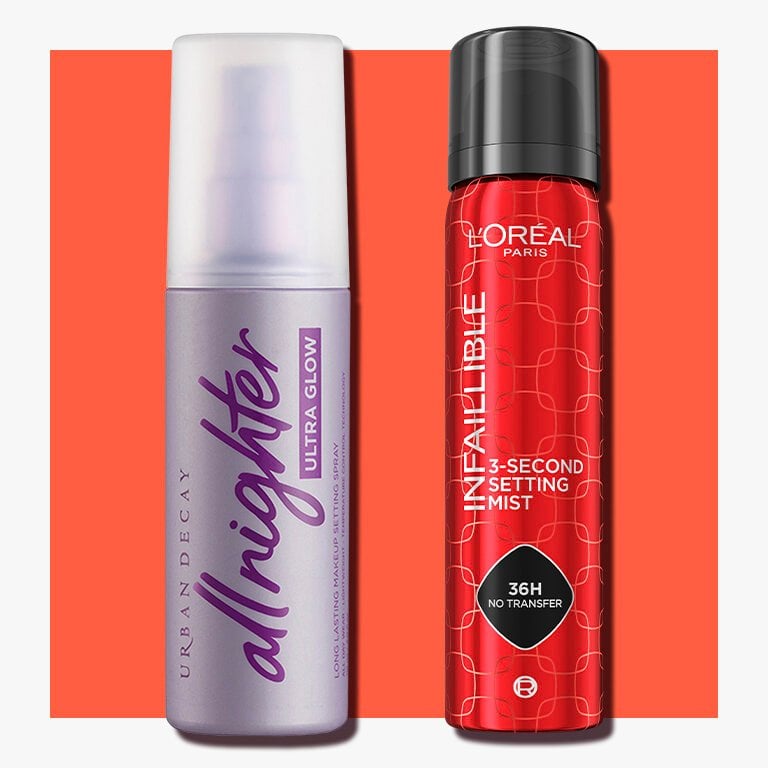
Repeat after us: no baking is welcome here. While baking your makeup with powder can work well for a matte look, using it here will likely detract from your glowy makeup look. Instead, lock in your look with a radiant-finish setting spray such as the L’Oréal Paris Infallible 3-Second Setting Spray or the Urban Decay All-Nighter Hyaluronic Acid Dewy Setting Spray, both of which will help your hard work stay put for as long as possible. The former boasts a naturally-radiant finish while the latter is hydrating and dewy—choose whichever one best suits your preferences and get glowing.
Next Up: How and Where to Apply Highlighter
Read more
EXPLORE BY TOPICS AND BRANDS
- Makeup Tutorials
- Face
- Expert Tips
- Video Embed
- Embedded Video


