How to Contour With Blush Using the Draping Technique

July 15, 2022
By: Marisa Petrarca | Makeup.com by L'Oréal

Blush has seen a major boost in popularity over the last few years, and it’s easy to understand why. With just a few dabs on the cheeks, the product has the power to immediately liven up your complexion. In addition to the love that blush has received recently, a specific blush application technique known as draping has also been resurfacing. 


Blush draping rose to popularity in the ‘80s, but don’t worry — when done right, the look is anything but over-the-top. In fact, it’s the perfect technique for sculpting your features in a natural-looking way. 


If you’re interested in learning how to contour with blush using the draping method, read on to learn how to do it.

What Is Blush Draping? 

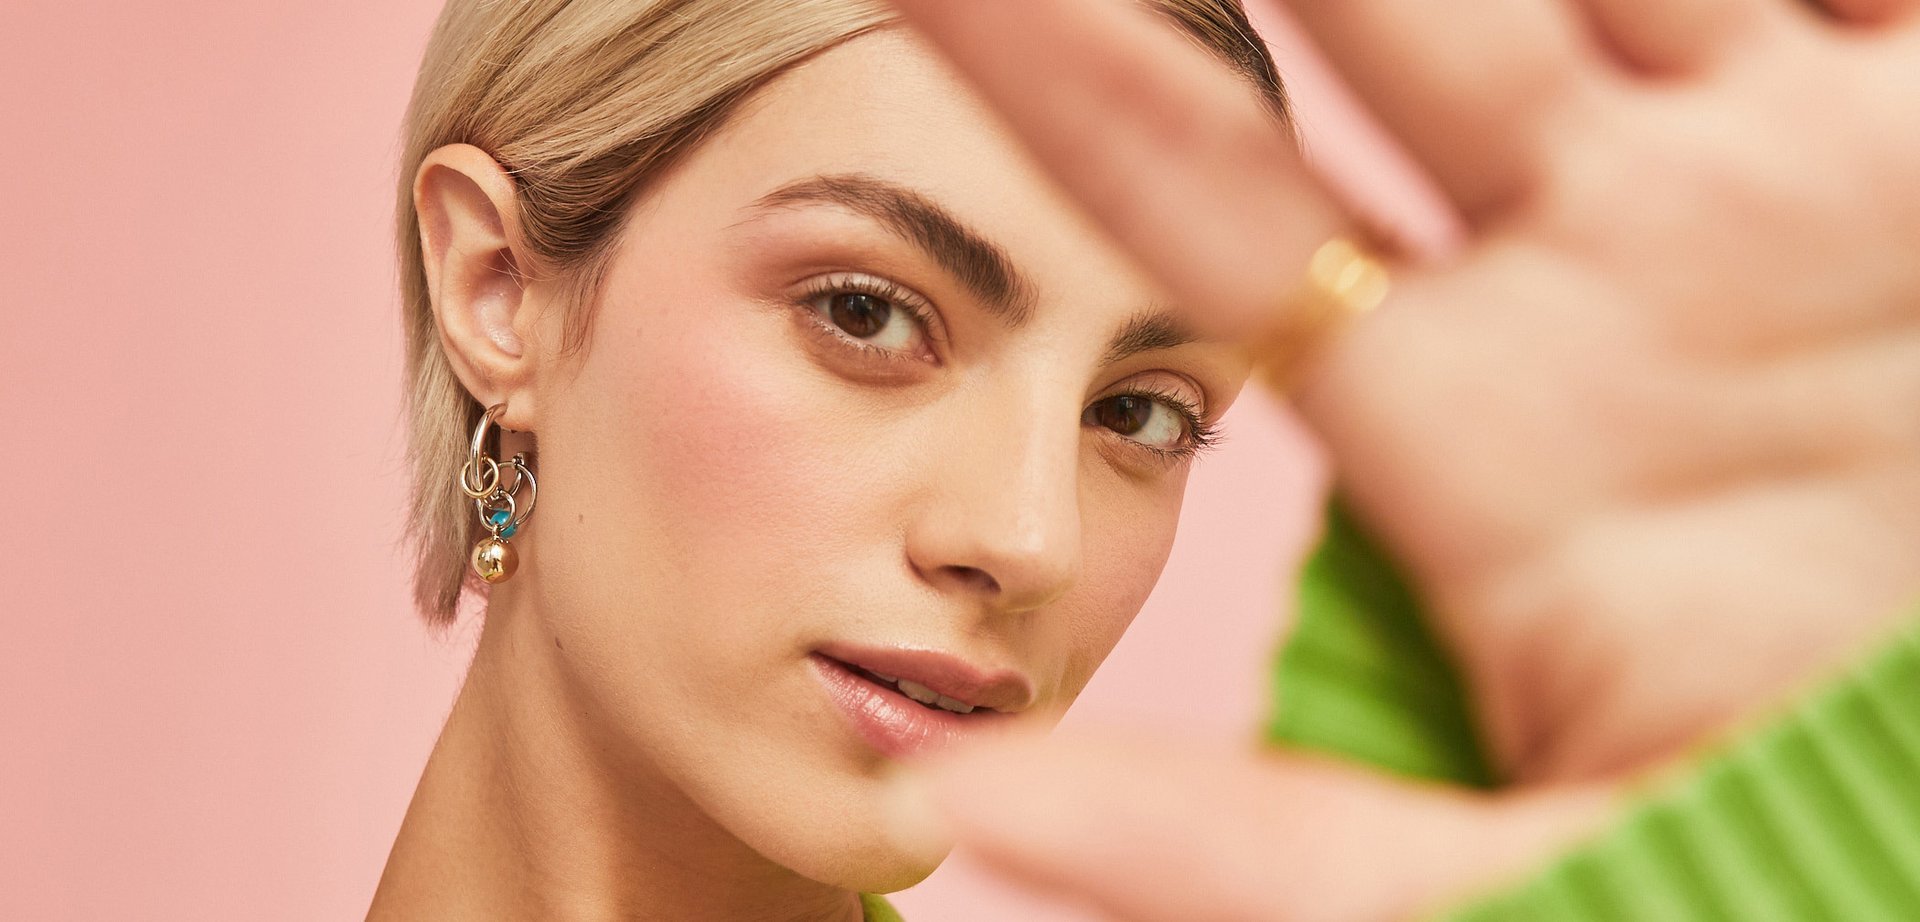
This technique involves applying blush along the top of the cheekbones instead of the apples of the cheeks. This elongates the face and makes it appear lifted. It can be done in a subtle way as a form of contouring, or in a bold way as part of a dramatic makeup look. You can use any type of blush, as long as it blends well. We love doing it with a cream formula that isn’t too emollient and won’t slip around, like the NYX Professional Makeup Wonder Stick Dual-Ended Cream Blush Stick

NYX Professional Makeup Wonder Stick Dual-Ended Cream Blush Stick

How to Contour With Blush

The secret to contouring with blush is all about product placement. Instead of working blush into the apples of your cheeks, try applying your cream, liquid or powder blush along the top of the cheekbones. Using an angled blush brush, blend upwards toward your temple to buff out the color. Start with a light application and build until you reach the intensity you want. If you want to really lift and define your cheekbones, concentrate the majority of the pigmentation towards the perimeter of your face. 


For more tips on how to master the draping technique and use blush to contour, check out this video from beauty vlogger Risa Does Makeup

Photo: Melissa San Vicente-Landestoy